Optimizing FDM Printers: Adhesion, Extrusion, and Flow Calibration Techniques
A technical guide to resolving common 3D printing failures including poor adhesion, dimensional inaccuracy, and filament oozing through systematic calibration and mechanical validation.

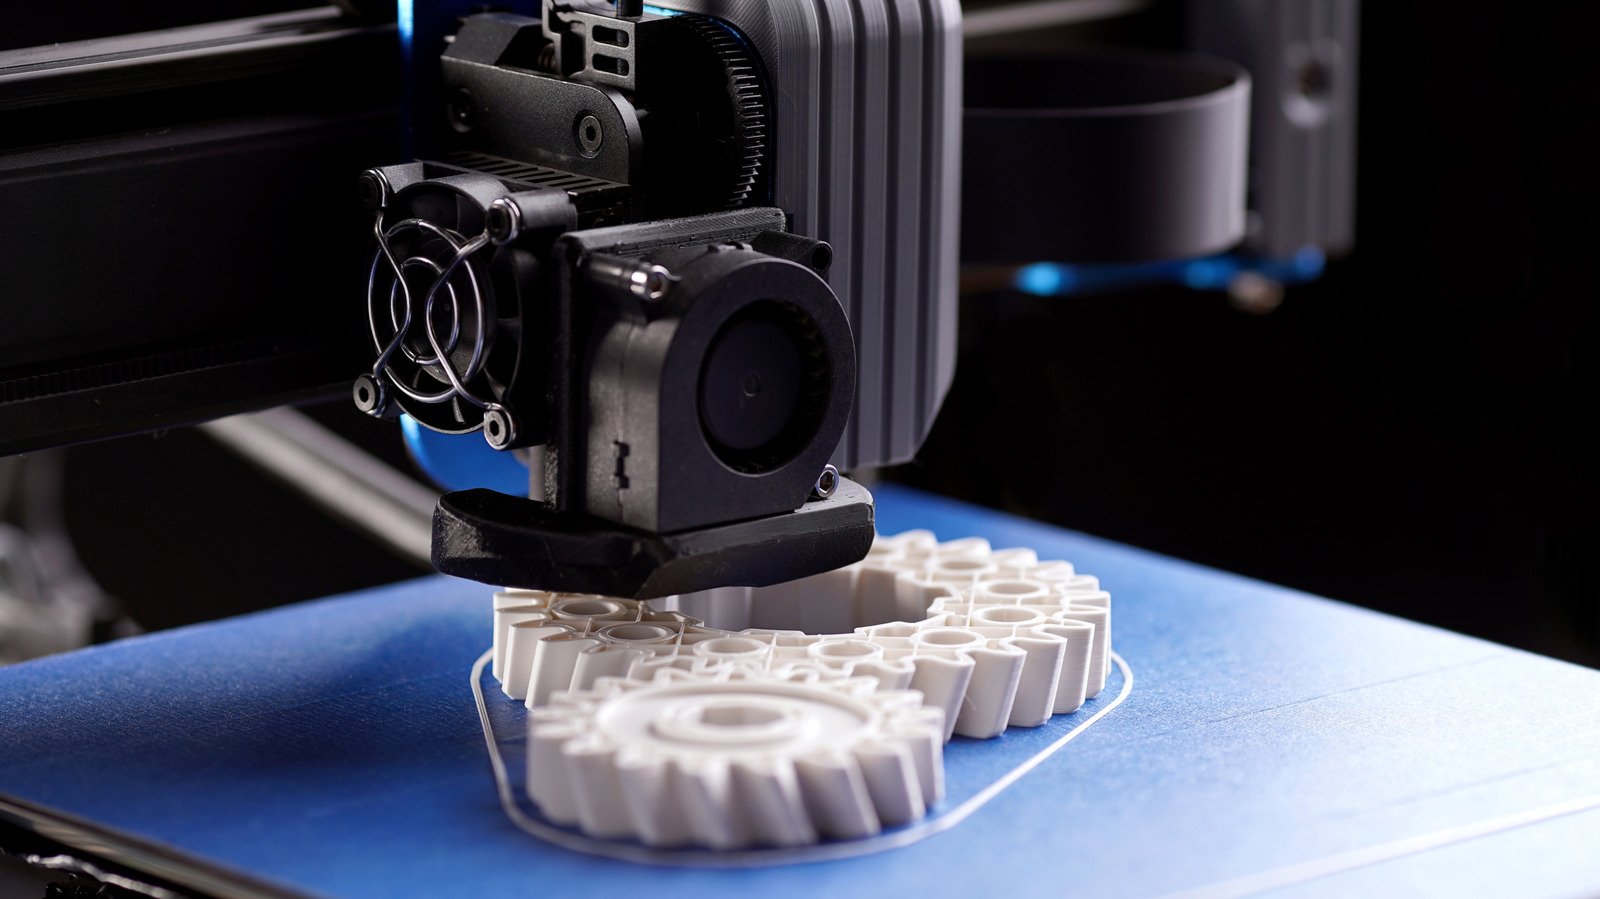
FDM 3D printing often results in failed parts where layers detach mid-printing or geometry inconsistencies cause components to fail to fit assemblies. These issues frequently stem from mechanical inconsistencies, uneven thermal distribution, or poor material flow. While newer 3D printers from Creality, Prusa, Bambu Lab, and Anycubic often include automated calibration routines, older machines and regular user maintenance require manual intervention to ensure quality.
The initial troubleshooting phase requires verifying the mechanical integrity of the printer. Users should ensure the machine sits on a stable, level surface and inspect for loose belts or misaligned toolheads with the power off. The build plate must be cleaned according to manufacturer specifications before leveling begins. It is crucial to push washers fully into the threaded rods to ensure stability, as a shaking desk negates calibration efforts.
Bed leveling follows, distinguishing between machines featuring automatic sensing and those using mechanical adjustment wheels, such as the Elegoo Neptune 4. In the latter case, users must adjust the wheels until the nozzle contacts the bed with slight resistance when a sheet of paper is placed between them. This step is critical for the first layer, often visualized with a single-layer square. The lines should be in contact with the bed and slightly flattened. Visible gaps indicate an excessive nozzle height, while ridges suggest the nozzle is too low. Small Z-offset adjustments are then necessary to correct this.
Beyond basic leveling, the extruder mechanism must be verified. E-step calibration, or rotation-distance calibration in Klipper firmware, measured against a real-world feed rate, ensures the motor steps per millimeter align with the actual filament output. Misaligned E-steps cause flow rate tuning to fail.
Since filament properties vary by spool even when the material is identical, users should utilize slicer-specific calibration tools. Platforms like Bambu Studio offer Flow Dynamics tests, while Creality Print provides calibration patches for over-extrusion and under-extrusion. Temperature towers help determine the optimal nozzle heat to minimize stringing. Users should avoid relying solely on the size of a calibration cube for validation, as loose belts and material shrinkage can skew results. Proper pressure-advance tuning is required to smooth out artifacts at layer starts and stops.
Sources and further reading
See an error? Read our corrections policy or email [email protected].